
Every family has that one dessert that shows up at every birthday, every party, every “someone’s coming over and we need to bring something” moment. In my family, that dessert was tres leches. Always.
My abuela made it in a beat-up aluminum pan she’d been using since before my mom was born. She’d poke the holes herself with a fork, slowly, carefully, like she was doing something sacred.
Then the milk mixture would go on, and the whole kitchen would smell like sweetened condensed milk and something warm and good. I used to hover near the fridge while the cake rested, hoping she’d let me sneak a corner piece before the guests arrived. She never did.

What took me years to fully understand about tres leches is that it’s not a fancy dessert. It never was. It’s a dessert built on patience and simple ingredients, and that’s exactly why it works.
This version uses a 3-ingredient sponge cake (eggs, sugar, and flour: that’s it) light enough to soak up all three milks without turning into a soggy brick. No butter, no oil, no baking powder. Just properly beaten eggs doing all the heavy lifting. And the result? This is the one.
Tres Leches Cake Ingredients: Let’s Talk About Them
For the Sponge Cake
Eggs (10, yes, ten): Your structure and your leavening all in one — beaten for a full 10 minutes, they create all the lift this sponge needs. Don’t skip a single minute of this step.
Granulated sugar (225g): It sweetens and helps stabilize the egg foam as you beat it. Use regular white granulated, not crystal.
All-purpose flour (225g): Just enough structure to hold the sponge together. Added gently at low speed so you don’t knock out all that air you just built.
For the Milk Mixture (The Three Leches)
Sweetened condensed milk (1 can): The rich, caramel-like backbone of the milk mixture. Don’t use the “light” version — it’ll taste flat and sad.
Evaporated milk (1 can): Less sweet than condensed, creamier than regular milk. It’s what separates tres leches from “a cake that got wet.”
Whole milk (½ cup): The lightest of the three, it thins the mixture just enough so it actually penetrates the sponge instead of pooling on top.
Can I make this dairy-free? Yes. Swap the whole milk for lactose-free milk or a regular plant-based option like oat milk or almond milk. For the condensed and evaporated milk, look for the lactose-free versions available at the store. The flavor stays very close to the original and no one at the table will notice the difference.
For the Whipped Cream Topping
Heavy cream (720ml / 3 cups): You need the fat content for real stiff peaks — just cold heavy cream, nothing else.
Powdered sugar (120g / 1 cup): Dissolves instantly with no grittiness and helps the whipped cream hold up in the fridge.
Ground cinnamon (optional): That little dusting on top is warm, fragrant, and visually says everything: this is a Latin dessert. My abuela never skipped it. I do, because my daughter doesn’t like it, and love speaks louder than tradition. But if no one at your table objects, go for it.
How to Make Tres Leches Cake: Tips for the Perfect Soak
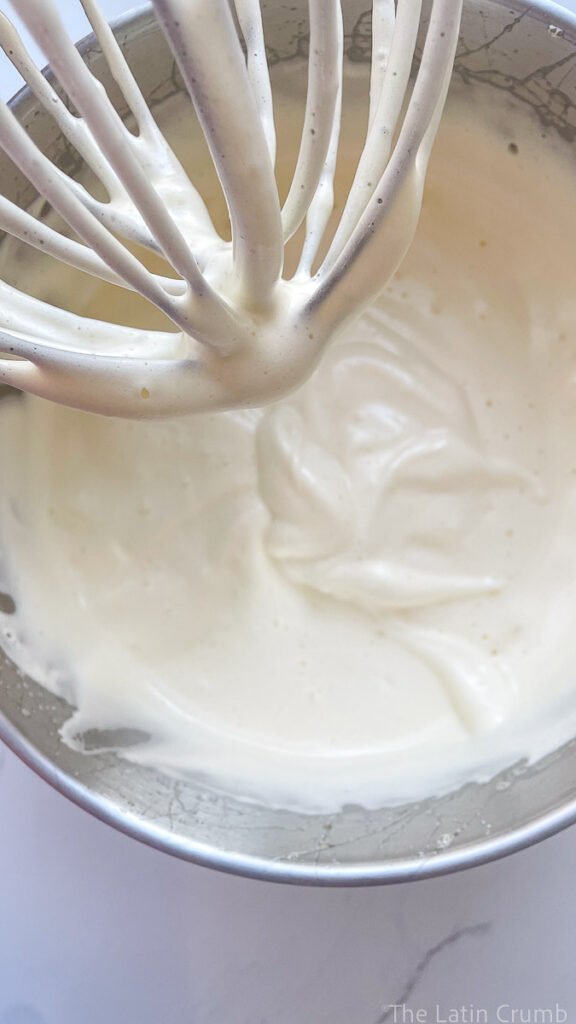
Tip #1: Beat Those Eggs Like You Mean It
Ten minutes is not a suggestion. You want a fluffy, pale batter that falls in thick ribbons when you lift the whisk, the so-called “ribbon stage.” That’s your green light to add the flour. If you stop at 5 minutes, the sponge will be dense and won’t absorb the milk mixture properly. Use the stand mixer on high speed and let it do the work for you.
Tip #2: Add the Flour Gently
Switch to low speed. Add the flour gradually, in three additions. Once it’s all incorporated, beat for one more minute and stop. Overworking the flour develops gluten and makes the cake tough. We don’t want that. We want a sponge that is essentially a milk-absorbing cloud.
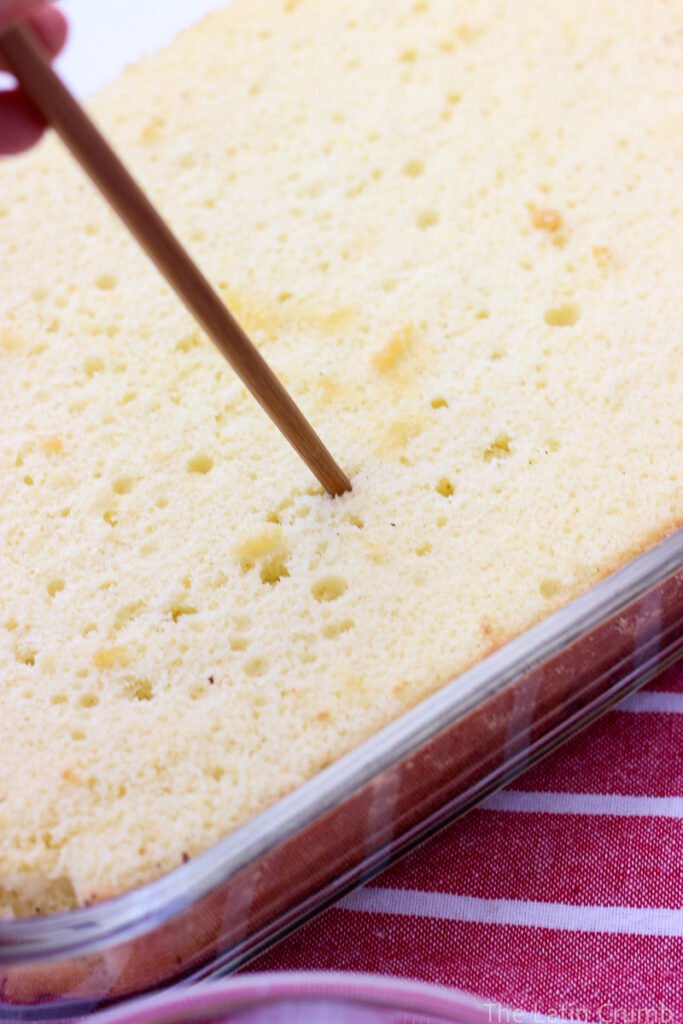
Tip #3: Poke ALL the Holes
Once the cake is baked and cooled, poke it all over with a fork or skewer, without holding back. You want the milk mixture to get deep into every corner of the cake, not just sit on the surface. Get the edges, get the middle, go again if you’re not sure. This is genuinely the most important step.
Tip #4: Overnight Is Best (But I Don’t Always Wait)
Full transparency: I have poured that milk mixture over a barely-cool cake at 10pm and eaten a slice before midnight. I will not lie to you about this. But the right thing to do is let it sit for at least 2 hours, and ideally overnight.The texture the next day is something else entirely: the sponge becomes incredibly moist and almost custardy in a way that simply doesn’t exist at the 2-hour mark. And one important thing: don’t add the whipped cream until the cake is fully cold. A warm cake will melt the whole topping and that’s a tragedy I can’t let happen to you.
Frequently Asked Questions
The 9×13 inch (23×33 cm) pan is ideal: it gives you the right depth for the sponge and enough surface area for the milk mixture to penetrate evenly.
Up to 4 days in the fridge, covered. It actually gets better on days 2 and 3 as the sponge keeps absorbing. It doesn’t freeze well: the texture of the soaked sponge doesn’t survive the freezer.
Yes, and I strongly recommend it. Bake the cake, add the milk mixture, and refrigerate (covered, without the whipped cream) up to 2 days ahead.
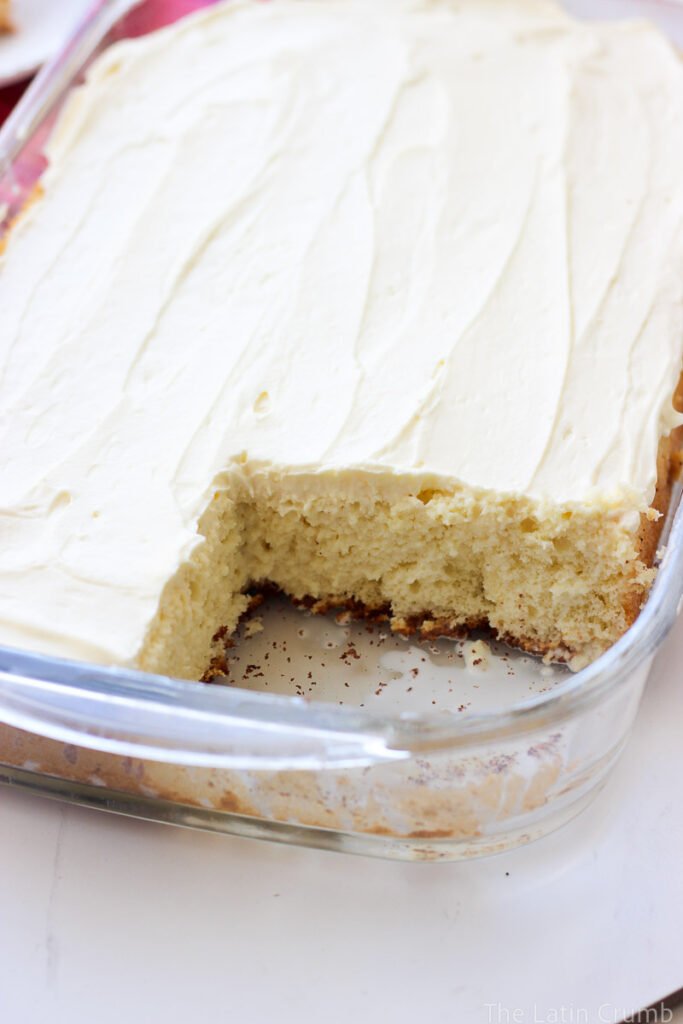
Some liquid will sit at the bottom of the pan and that’s completely normal. It gets reabsorbed over time. If the cake seems to be floating in liquid after a few hours, don’t panic. Let it rest. By morning it’ll be gone.
Strawberries are the classic garnish and look beautiful: slice them and layer on top of the whipped cream just before serving. Fresh mango and pineapple are also incredible. Go classic, go tropical, go with whatever you want.

This Recipe Is For You If…
- You want a showstopper dessert that only has three steps
- You grew up eating this at every family gathering and want to make it yourself for the first time
- You want something that feeds a crowd without breaking the bank
- You believe (correctly) that the best desserts are the simple ones done right
- You need to impress at a potluck and want a guaranteed win
- Your abuela made this cake and you want to carry that legacy forward: that’s the most valid reason of all

Tres Leches Cake (3-Ingredient Sponge Cake)

A feather-light 3-ingredient sponge soaked in sweetened condensed milk, evaporated milk, and whole milk, topped with pillowy homemade whipped cream. Simple, budget-friendly, and absolutely the cake your family will ask for every time.
- Prep Time: 25
- Cook Time: 30
- Total Time: 3h
- Yield: 15 slices
- Category: Dessert
- Method: Baking
Ingredients
Sponge Cake
- 10 large eggs, room temperature
- 225g granulated sugar
- 225g all-purpose flour
Three-Milk Mixture
- 1 can (395g / 14 oz) sweetened condensed milk
- 1 can (354ml / 12 oz) evaporated milk
- ½ cup (120ml) whole milk
Whipped Cream Topping
- 3 cups (720ml) heavy cream, cold
- 1 cup (120g) powdered sugar
- Ground cinnamon to garnish (optional)
Instructions
Sponge Cake
- Preheat oven to 350°F. Grease a 9×13 inch (23×33 cm) baking pan with cooking spray or butter.
- In a stand mixer fitted with the whisk attachment, beat the eggs and sugar on high speed for 10 full minutes, until the mixture is fluffy, pale, and falls in thick ribbons from the whisk (ribbon stage).
- Reduce to the lowest speed. Add the flour gradually in 3 additions, taking care not to deflate the batter. Once all the flour is incorporated, beat for 1 more minute and turn off.
- Pour the batter into the prepared pan. Bake for 30 minutes, until golden on top and a toothpick inserted in the center comes out clean.
- Allow the cake to cool completely to room temperature.
Three-Milk Mixture
6. Once the cake is completely cool, use a fork or skewer to poke holes all over the surface, including the edges and corners.
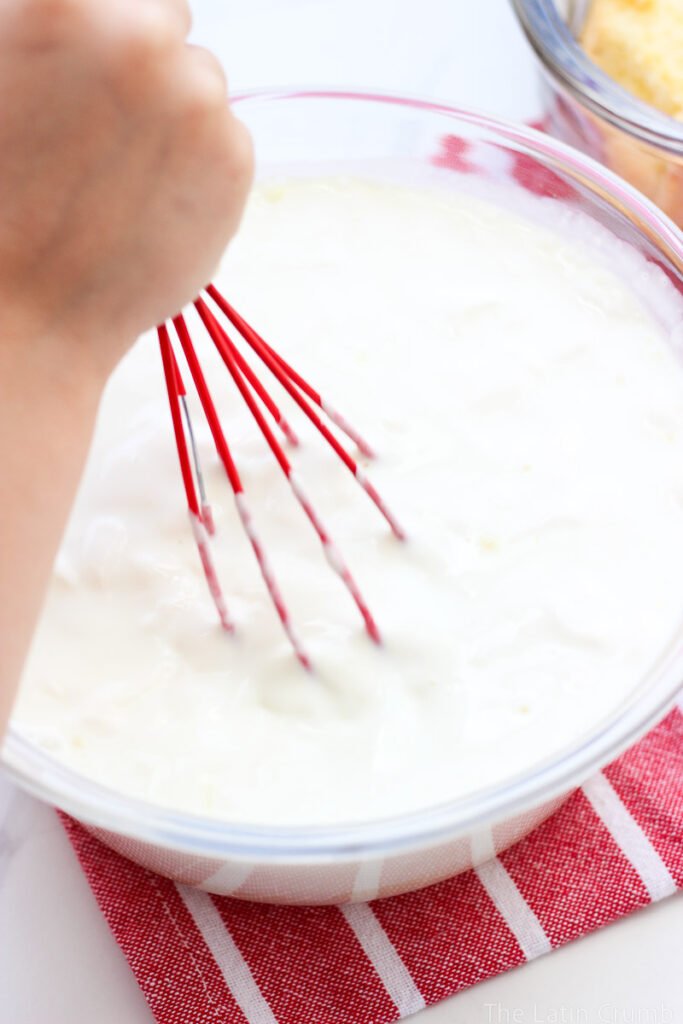
7. In a bowl or measuring cup, whisk together the condensed milk, evaporated milk, and whole milk.
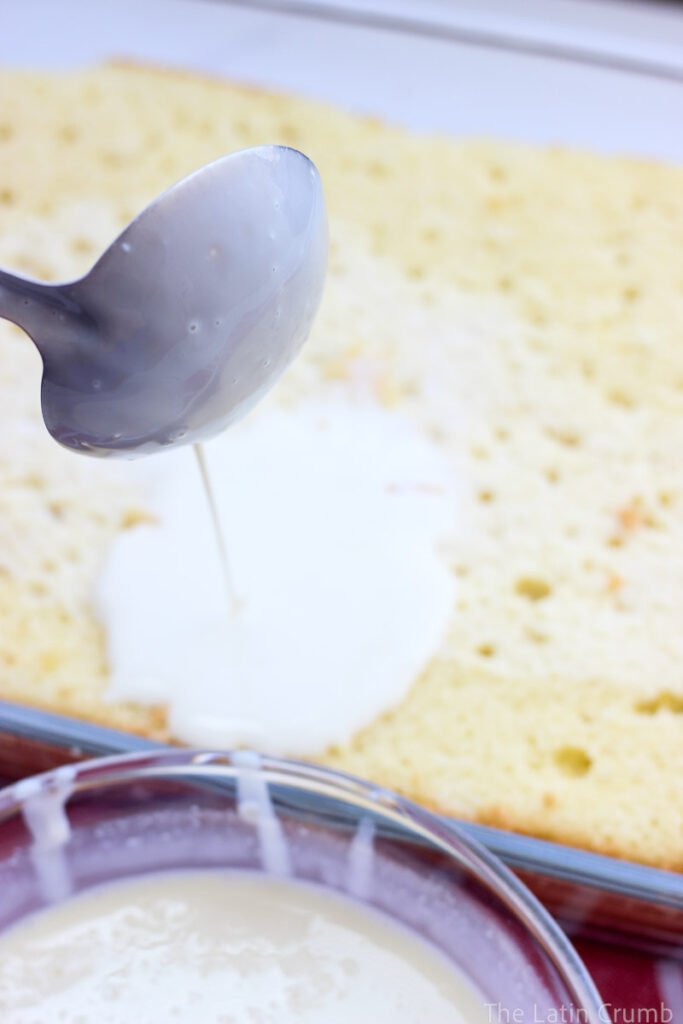
8. Slowly pour the mixture evenly over the entire surface of the cake, letting it absorb as you go.
9. Cover the pan and refrigerate for at least 2 hours, or overnight for best results.
Whipped Cream
10. In a large bowl, beat the cold heavy cream and powdered sugar on high speed until stiff peaks form.
11. Keep refrigerated until ready to use.
Assembly
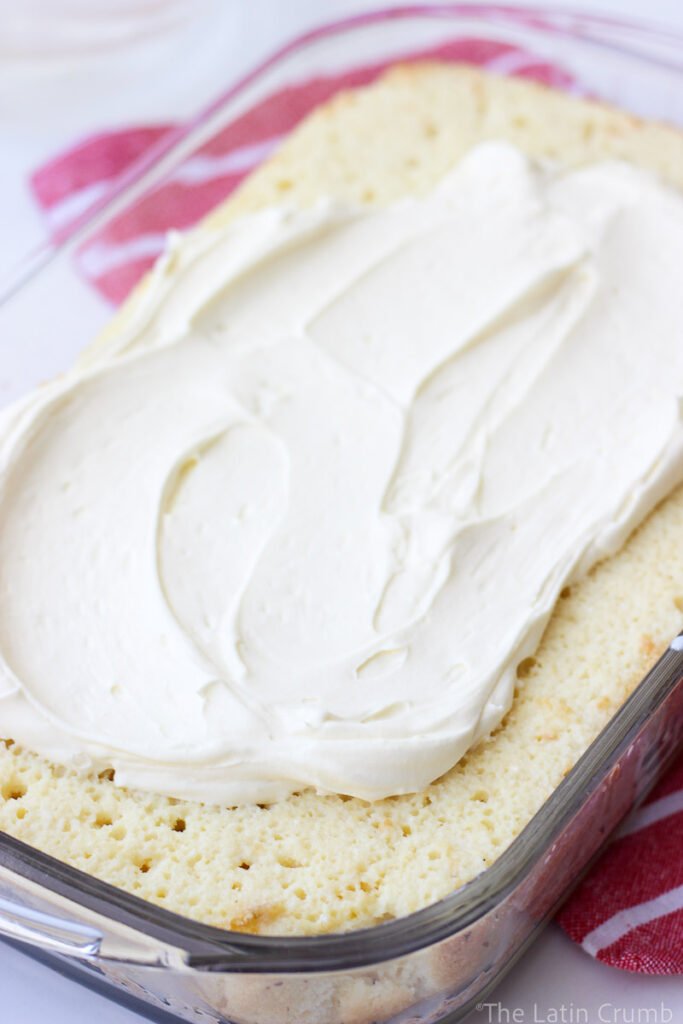
12. Spread the whipped cream over the fully chilled cake.
13. Dust with ground cinnamon if desired. Garnish with sliced strawberries to serve.
Notes
Storage: Refrigerate covered for up to 4 days. The cake gets even better on days 2 and 3.
Make ahead: Prepare through step 9 up to 2 days in advance. Add the whipped cream a few hours before serving.
The coconut variation: Swap the whole milk for full-fat coconut milk. It adds a subtle tropical flavor that’s absolutely worth trying.
Important: Do not add the whipped cream to a warm cake: it will melt. The cake must be completely cold before topping.
[…] Tres Leches Cake […]